

These easy fairy cakes with sprinkles and sweeties have been baked in our kitchen for as long as I can remember. They’ve survived school bake sales, rainy afternoons, birthday parties, and those “Mum, can we make something?” moments.

Our kids may be nearly adults now, but if I so much as mention fairy cakes, they’re suddenly back to being five again, helping make them (and making a mess), hanging around the oven, asking if they’re ready yet, and arguing over who gets to lick the bowl.
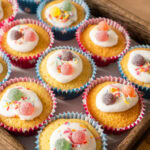
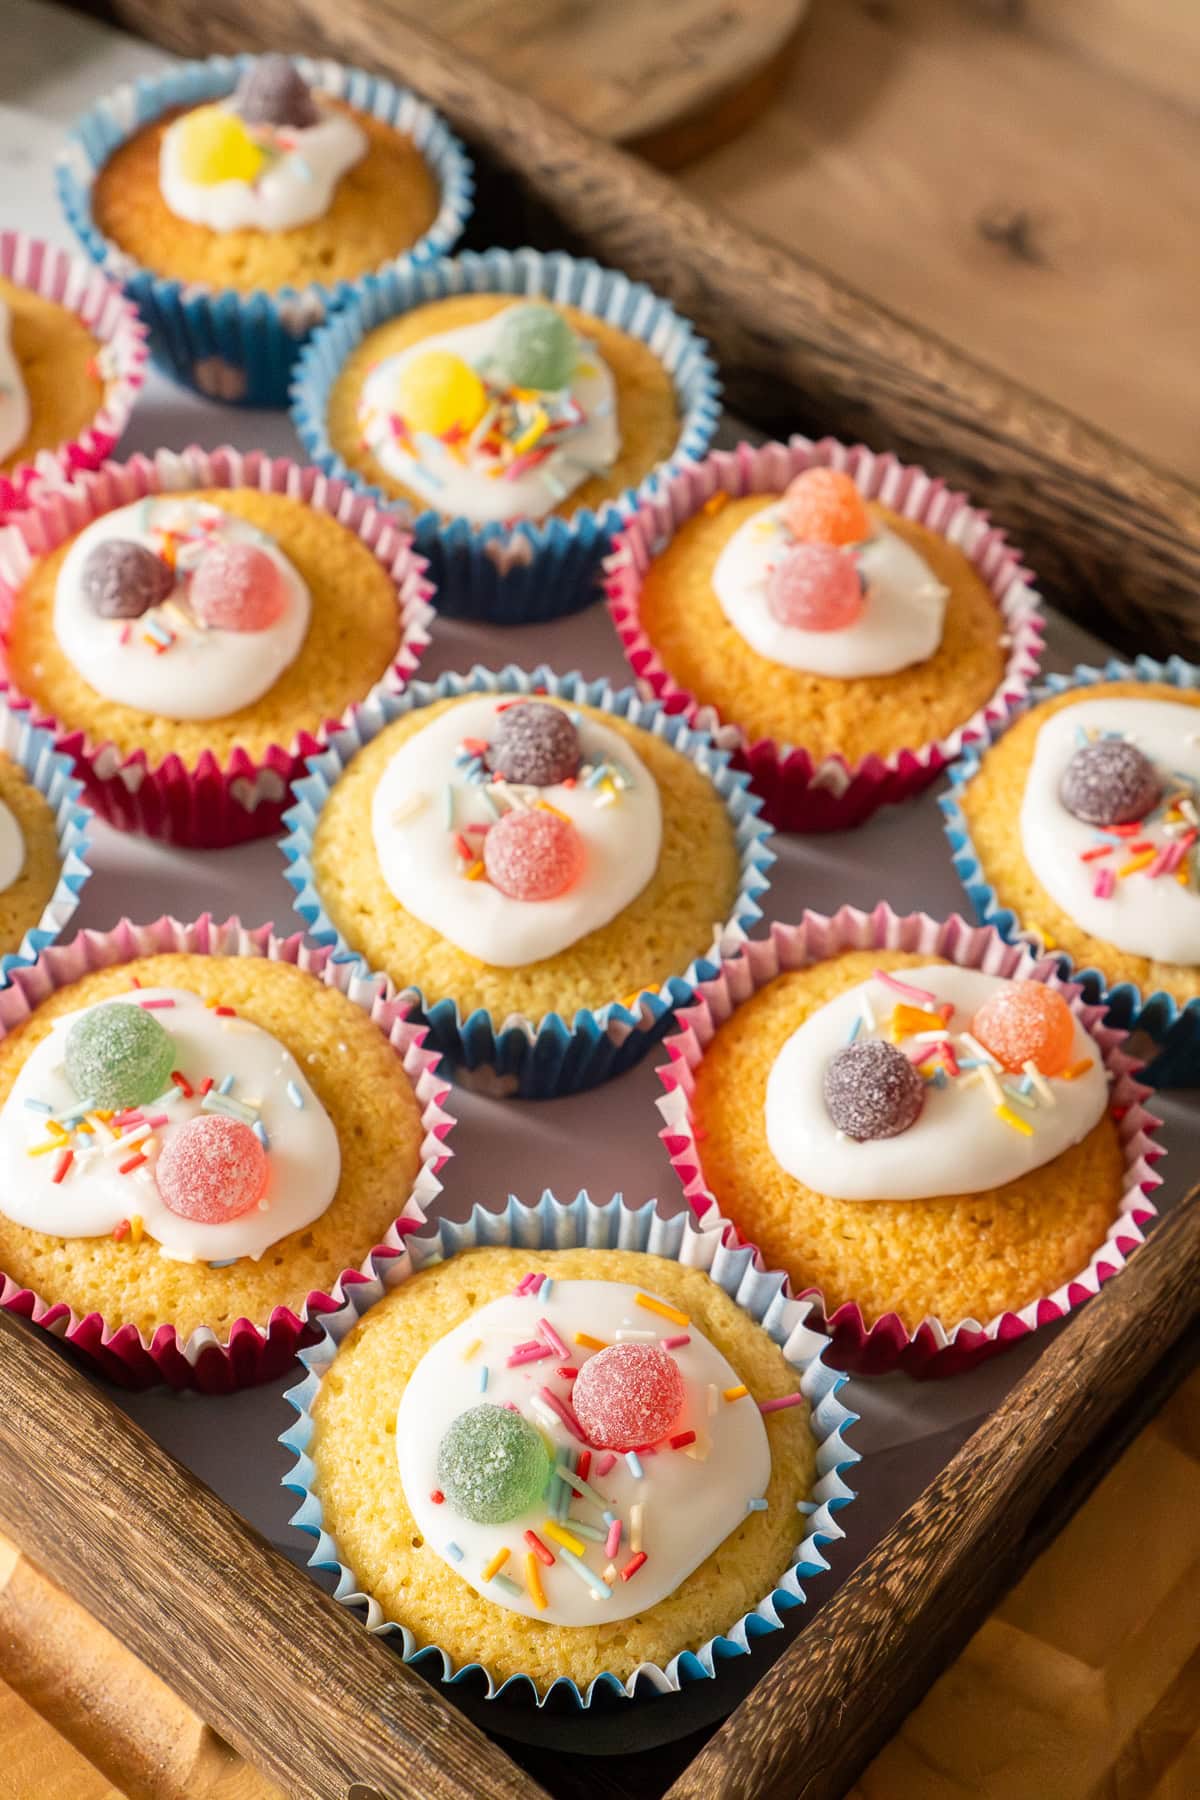
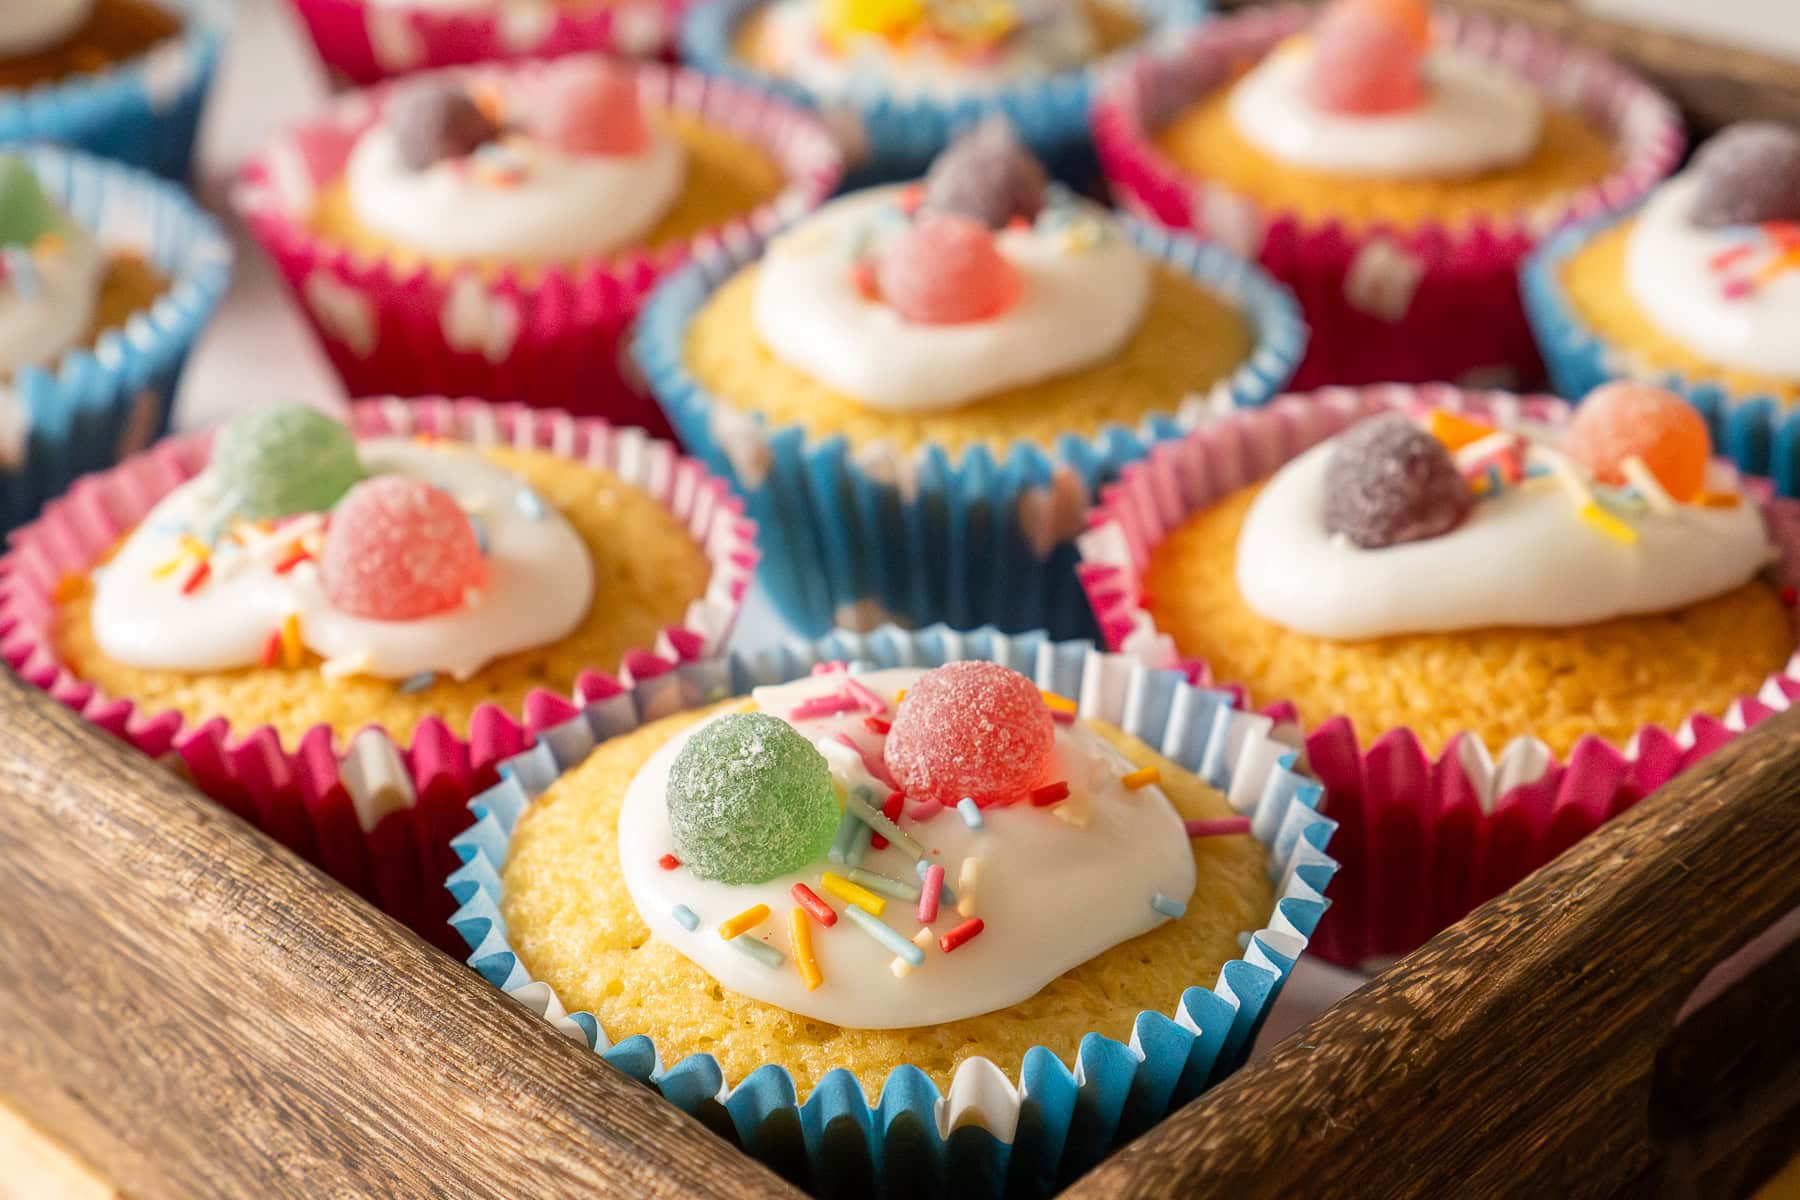
They’re not fancy. They’re not perfect. They don’t need piping bags or complicated swirls. They are simple, fluffy, nostalgic little cakes in colourful paper cases, topped with a teaspoon of icing and your choice of sweets. If you prefer a chocolate version of these easy fairy cakes check out our chocolate fairy cakes.
Jump to:
📖 Step by Step Recipe
Fairy Cakes


Ingredients
- 130 g caster sugar
- 130 g unsalted butter
- 130 g Self-raising flour
- 2 large eggs
- ½ teaspoon vanilla extract
- 80 g icing sugar
- 1 tablespoon milk
- Sweeties - Ie. Jelly tots, Jelly Beans, Dolly Mixture
- Sprinkles
Instructions
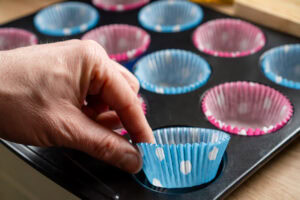
- Preheat the oven to 170℃ fan/ 190℃ / 375℉ /gas mark 5Line a cupcake tin with cases.
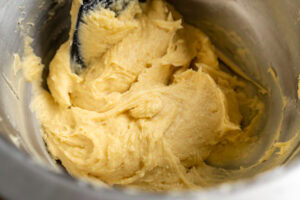
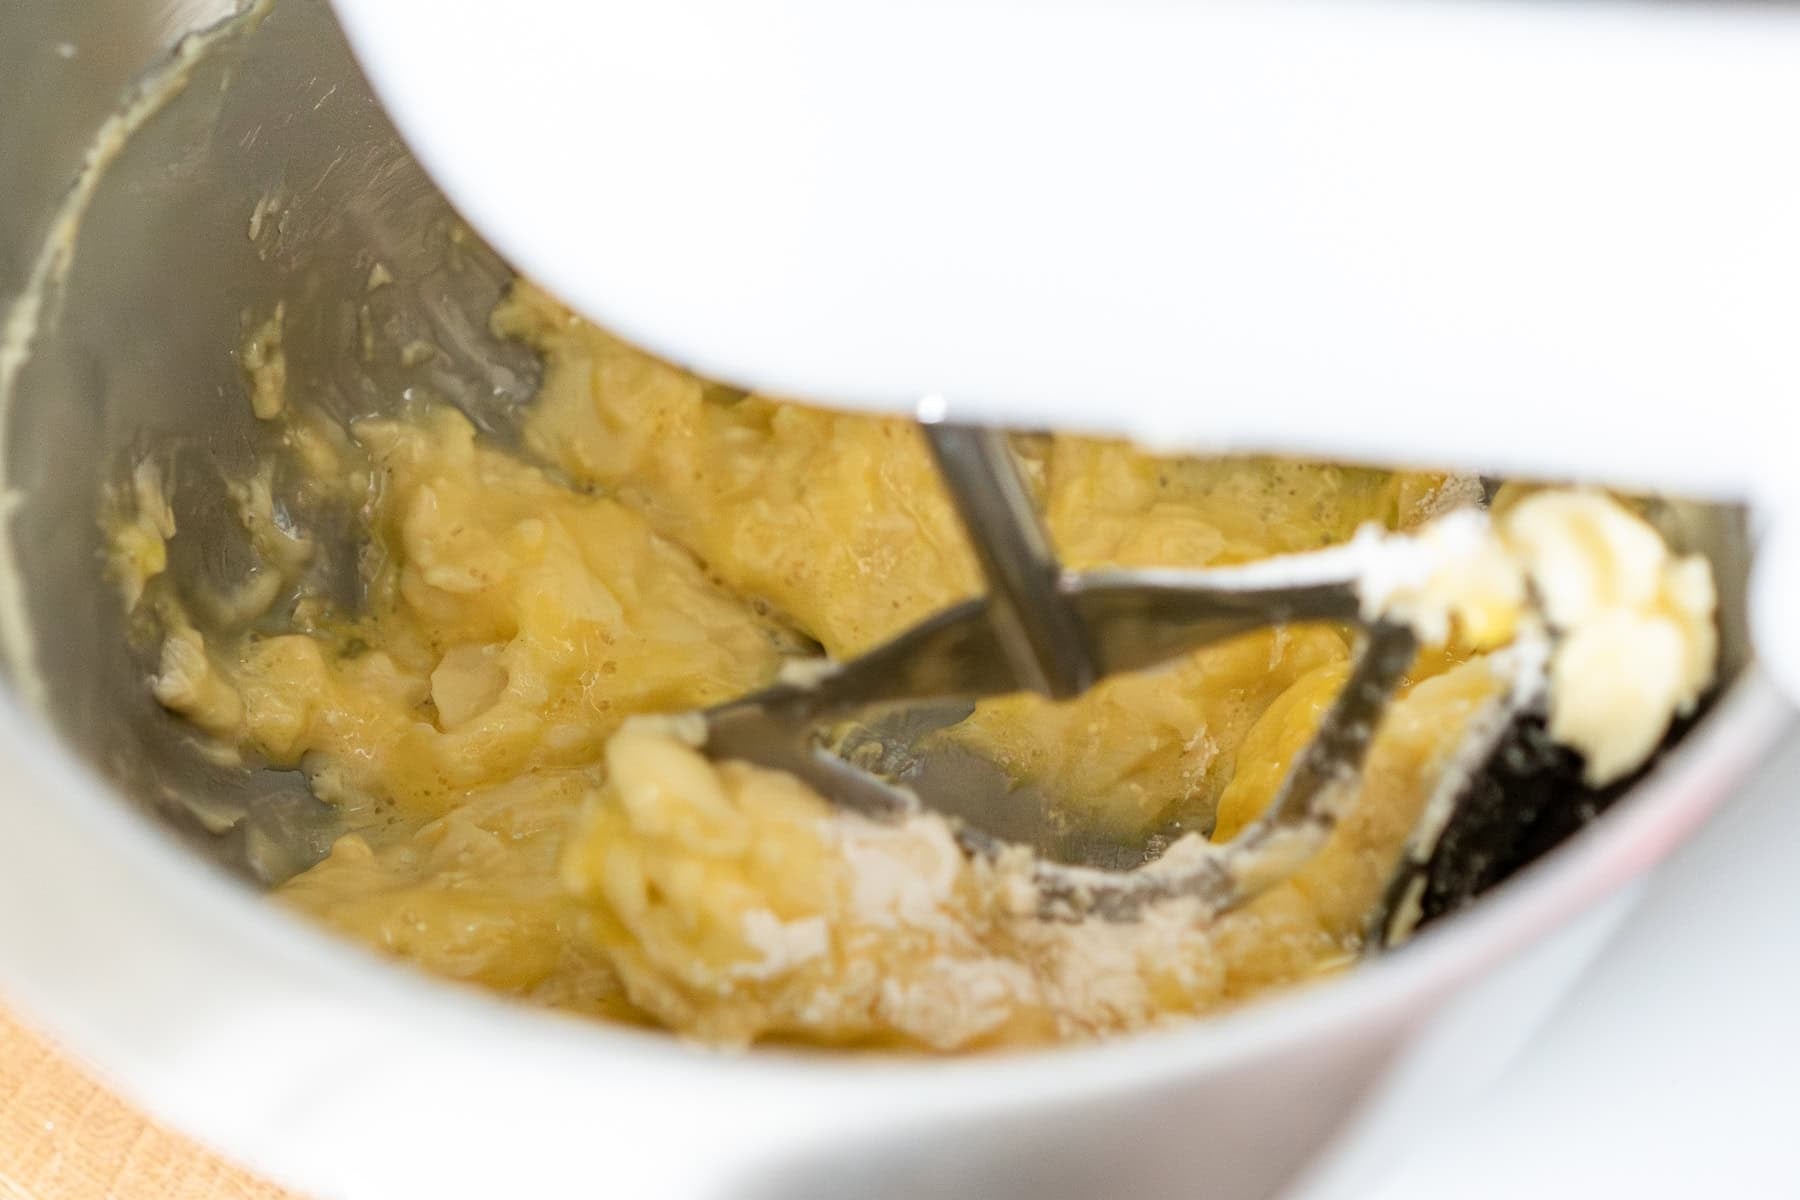
- In a mixing bowl cream 130 g caster sugar and 130 g unsalted butter together until pale and fluffy. A stand or hand mixer works best.

- Beat in 2 large eggs one at a time, and ½ tsp vanilla extract. Tip: Add 2 tablespoons of the measured flour now to help stop the mixture curdling.

- Add the remaining 130 g Self-raising flour into the bowl.
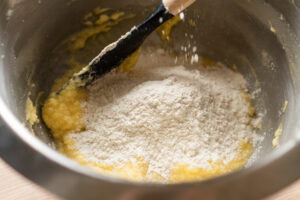
- Using a spatula, gently fold it in by hand until just combined.Do not overmix.
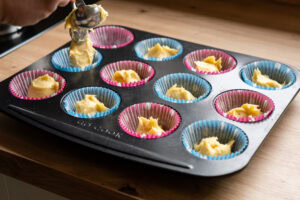
- Spoon the mixture into the cases, start with 1 tablespoon each, filling each one about halfway.
- Bake at 170℃ fan/ 190℃ / 375℉ /gas mark 5 for 15 to 20 minutes.
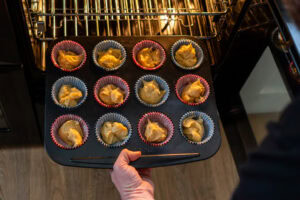
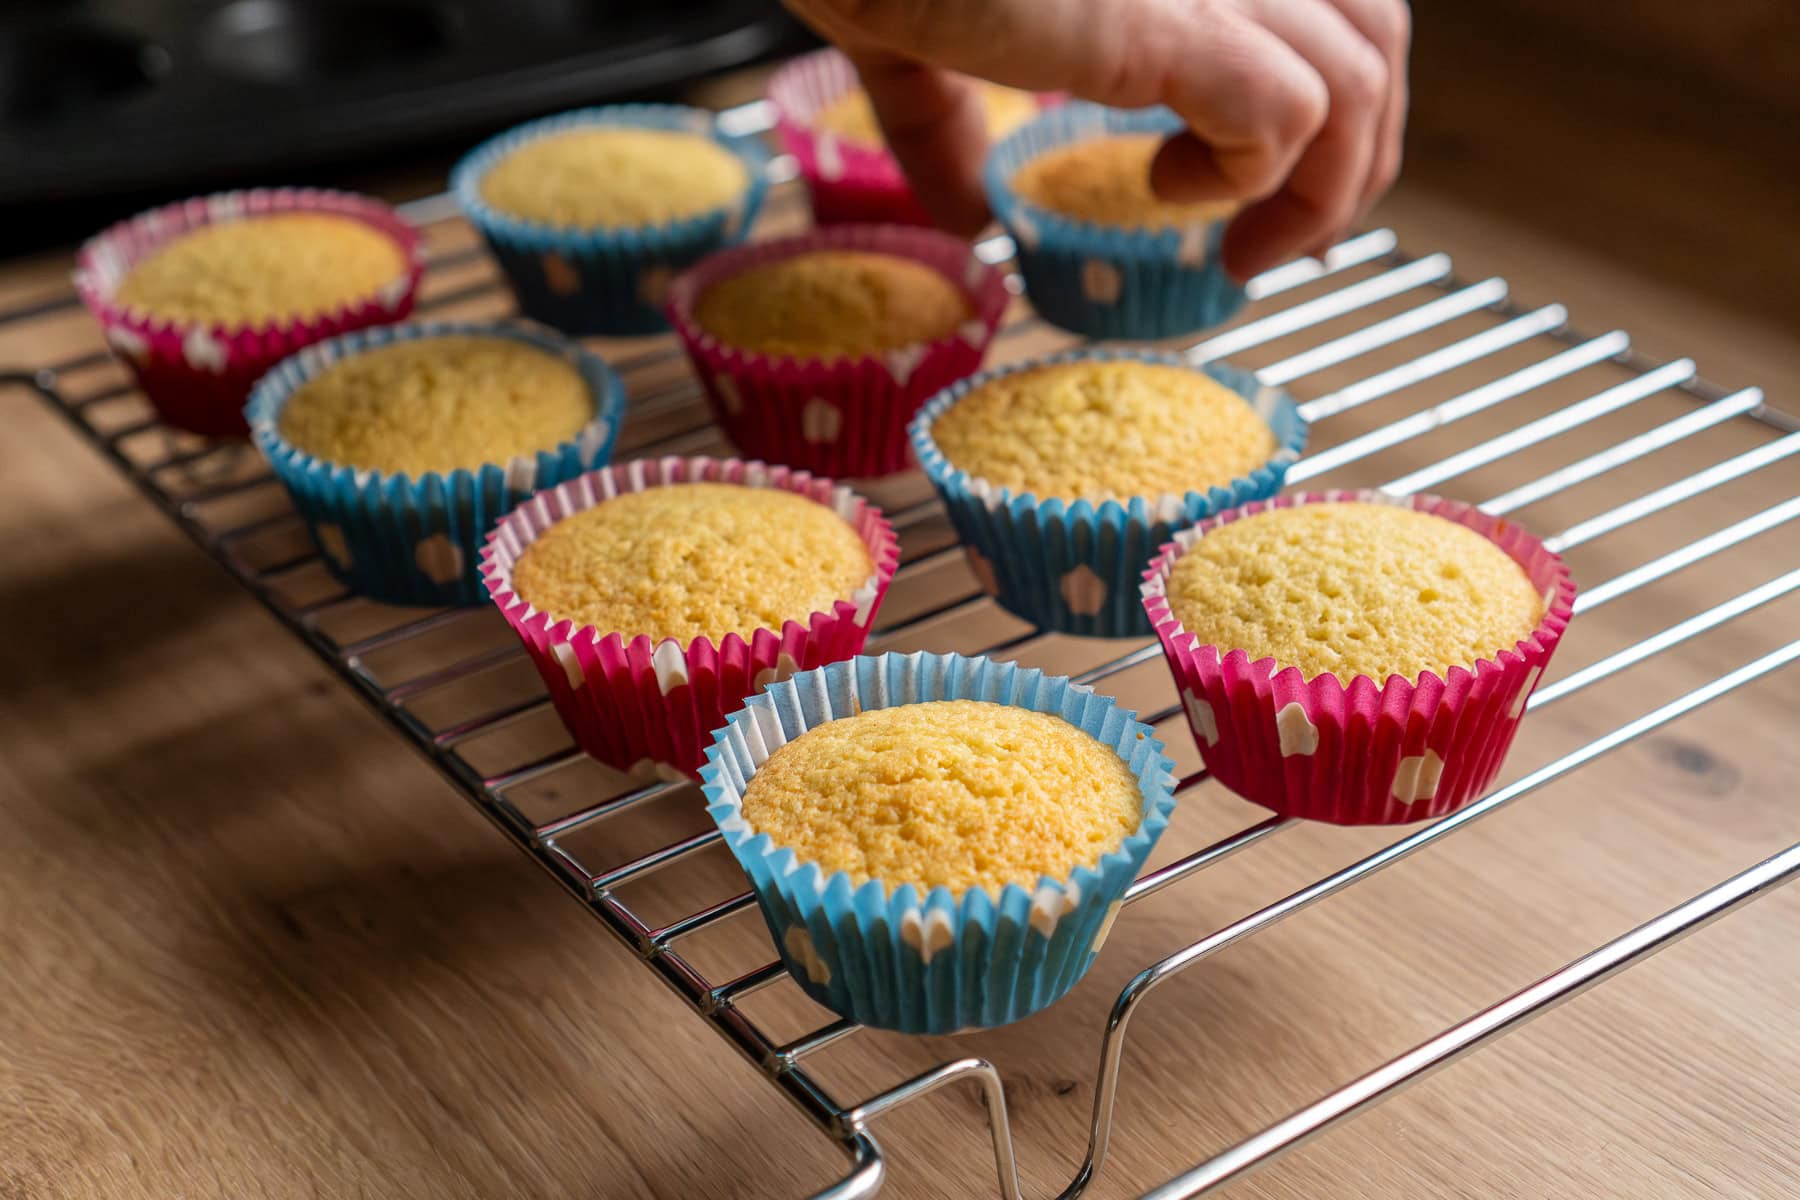
- Remove from the oven once risen and lightly golden
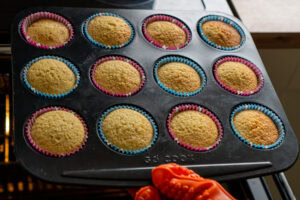
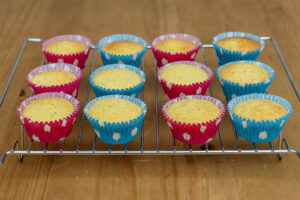
- Transfer to a wire rack to cool completely

- Allow to fully cool before you can add icing
Decorating
- Measure 80 g icing sugar into bowl. Add 1 tbsp milk and mix.
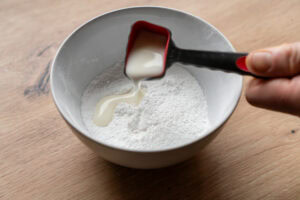
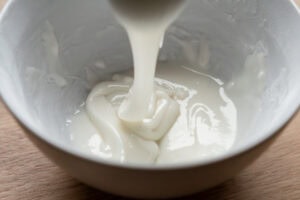
- Adjust with a little more milk or icing sugar if needed. The icing should be thick enough not to spread too much when placed on the cake.
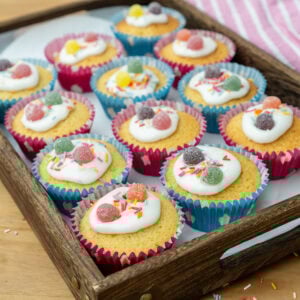
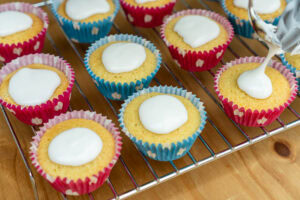
- Spoon the icing onto each cooled fairy cake.These are not cupcakes, so no need to be neat!
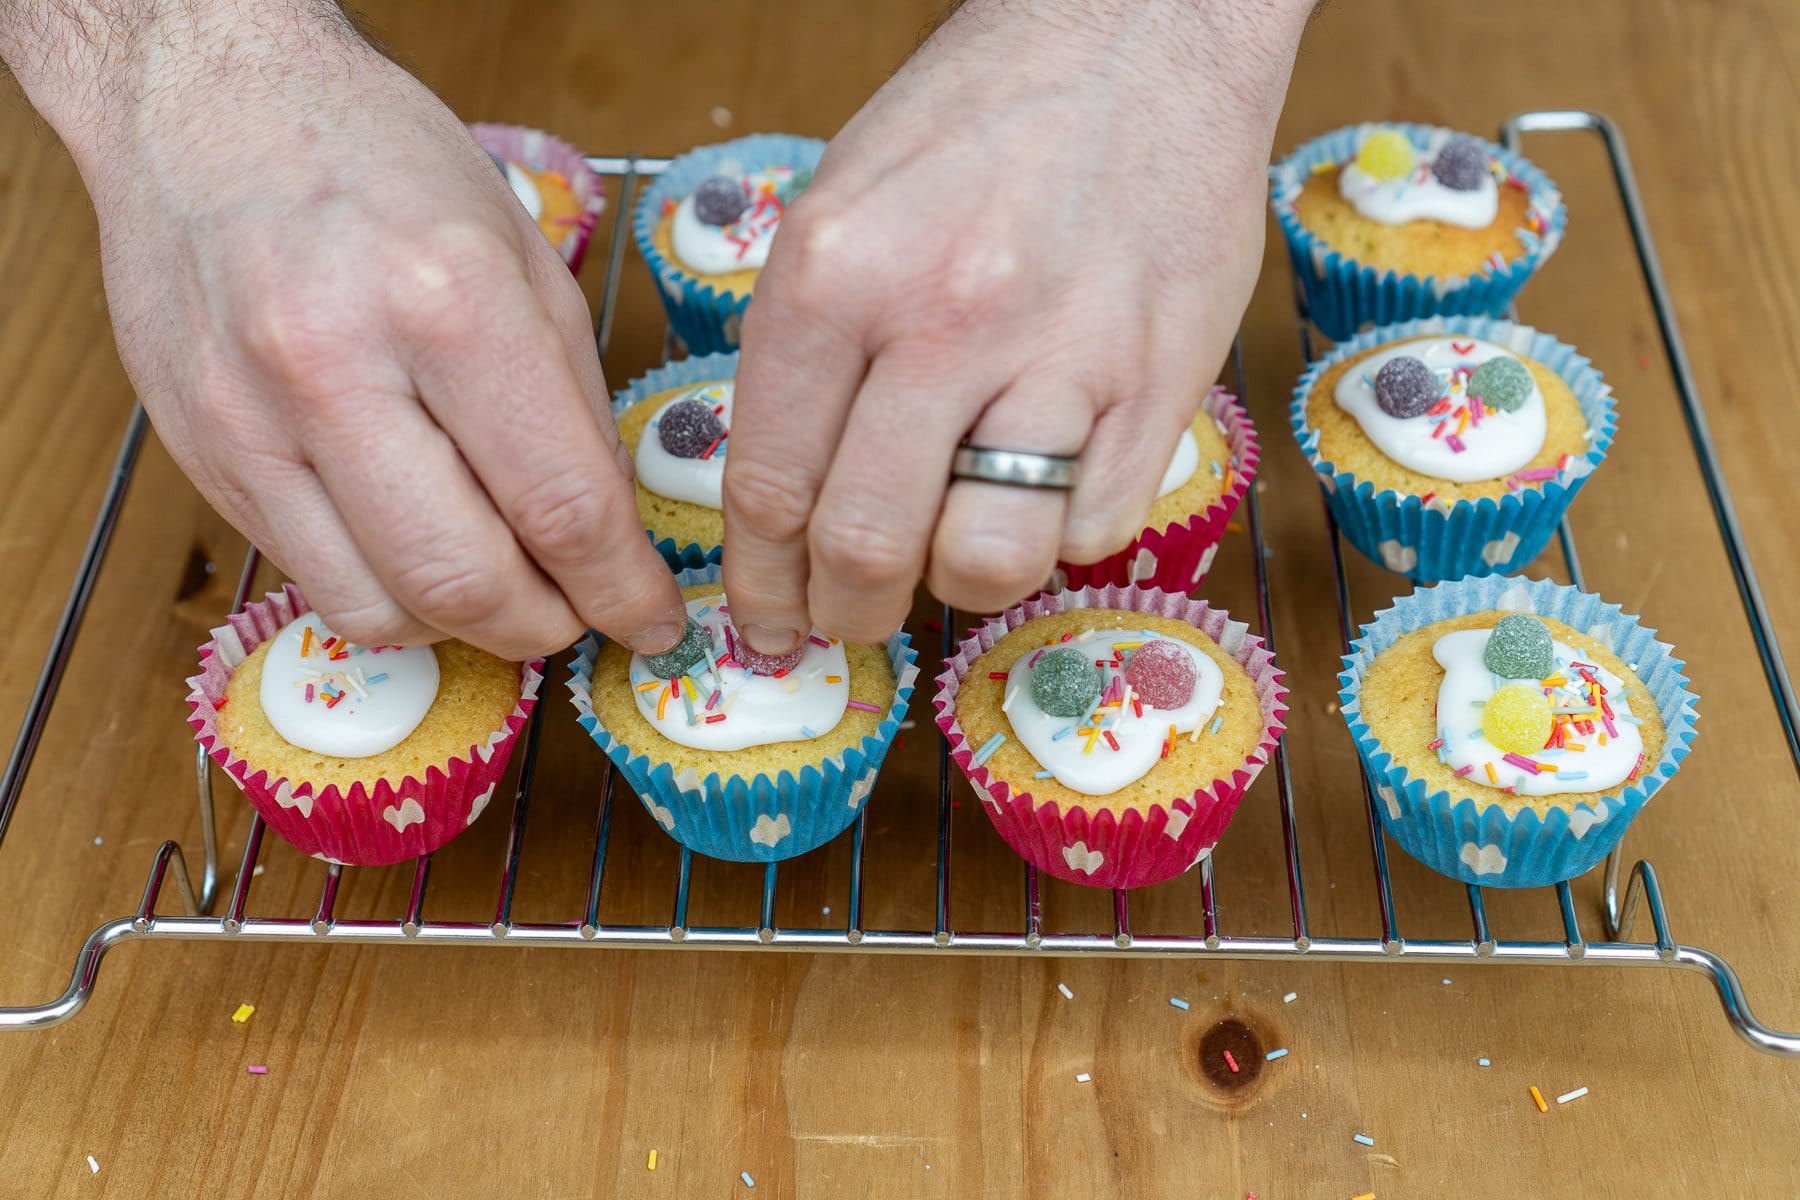
- Top with Sprinkles and Sweeties Jelly tots, always go down well with the kids.

- Enjoy!

Video
Nutrition
Top Tips
A few simple tips can make all the difference when baking fairy cakes, especially if you are making them with children or baking in a hurry.
Soften Butter
Make sure your butter is soft before starting. This helps it cream properly with the sugar. You can soften it quicker by cutting into cubes and placing in microwave at 30% power for 1 minute, but do not allow it to melt as it will change the texture of the cake in a negative way!

Do I Need a Mixer?
You can absolutely make these fairy cakes by hand with a wooden spoon, and they will still turn out lovely.
However, we find using an electric hand mixer or stand mixer makes the creaming stage much quicker and gives a lighter, fluffier sponge. If you have one, it is well worth using, but the recipe works either way.
If Your Batter Splits
Sometimes the mixture can look a bit curdled after adding the eggs. This is completely normal and will not ruin your fairy cakes. To help prevent it, add the eggs one at a time and mix well between each. We also like to stir in a tablespoon or two of the measured flour at this stage, which helps the mixture stay smooth.
If it still looks split, don’t worry. Once the flour is gently folded in, the batter will come back together and bake perfectly.
Fairy cake is not flat
If your fairy cakes come out with a little mountain peak instead of a flat top, it is usually because the oven is slightly too hot. The outside of the cake sets quickly while the middle keeps rising, pushing up into a peak. Make sure the oven is preheated and next time lower the heat.

Flavour Variations
One of the best things about fairy cakes is how easy they are to customise. You can change the flavour of both the sponge and the icing to create lots of different versions from the same simple base recipe.
Flavouring the Sponge
Instead of vanilla, try swapping in different essences or extracts. Just use the same amount (½ teaspoon). Lemon is light and fresh, orange pairs beautifully with chocolate or vanilla, almond gives a classic flavour. Dr Oetker has many flavours to choose from
Flavouring the Icing
The icing can be just as fun to change. Add a few drops of essence, or swap some of the milk for a flavoured liquid. Lemon juice gives a sharp, zesty topping, orange juice creates a sweet citrus glaze, and raspberry essence adds a fruity finish.
You can also add a drop of food colouring to the icing to create fun, colourful fairy cakes.

Let Them Cool Before Icing
Always let the fairy cakes cool completely before icing, otherwise the icing will melt and slide straight off, leaving a sticky mess

Toppings for Fairy Cakes
Think colourful sprinkles, shiny sweeties, and little sugary gems that make each cake feel special. Jelly Tots, Dolly Mixture, mini marshmallows, chocolate buttons, hundreds and thousands, or even a dusting of edible glitter all work beautifully.
Let everyone decorate their own and you will end up with a tray of completely unique fairy cakes, just like tiny treasure chests from a fairy kitchen.
Storage
Store fairy cakes in an airtight container at room temperature for up to 3 days.
They can be frozen (without icing) for up to 3 months. Defrost fully before decorating.
Fairy Cakes History
Fairy cakes are the original British mini cake. Long before cupcakes with buttercream, and drip cakes took over, fairy cakes were what every home baker made.
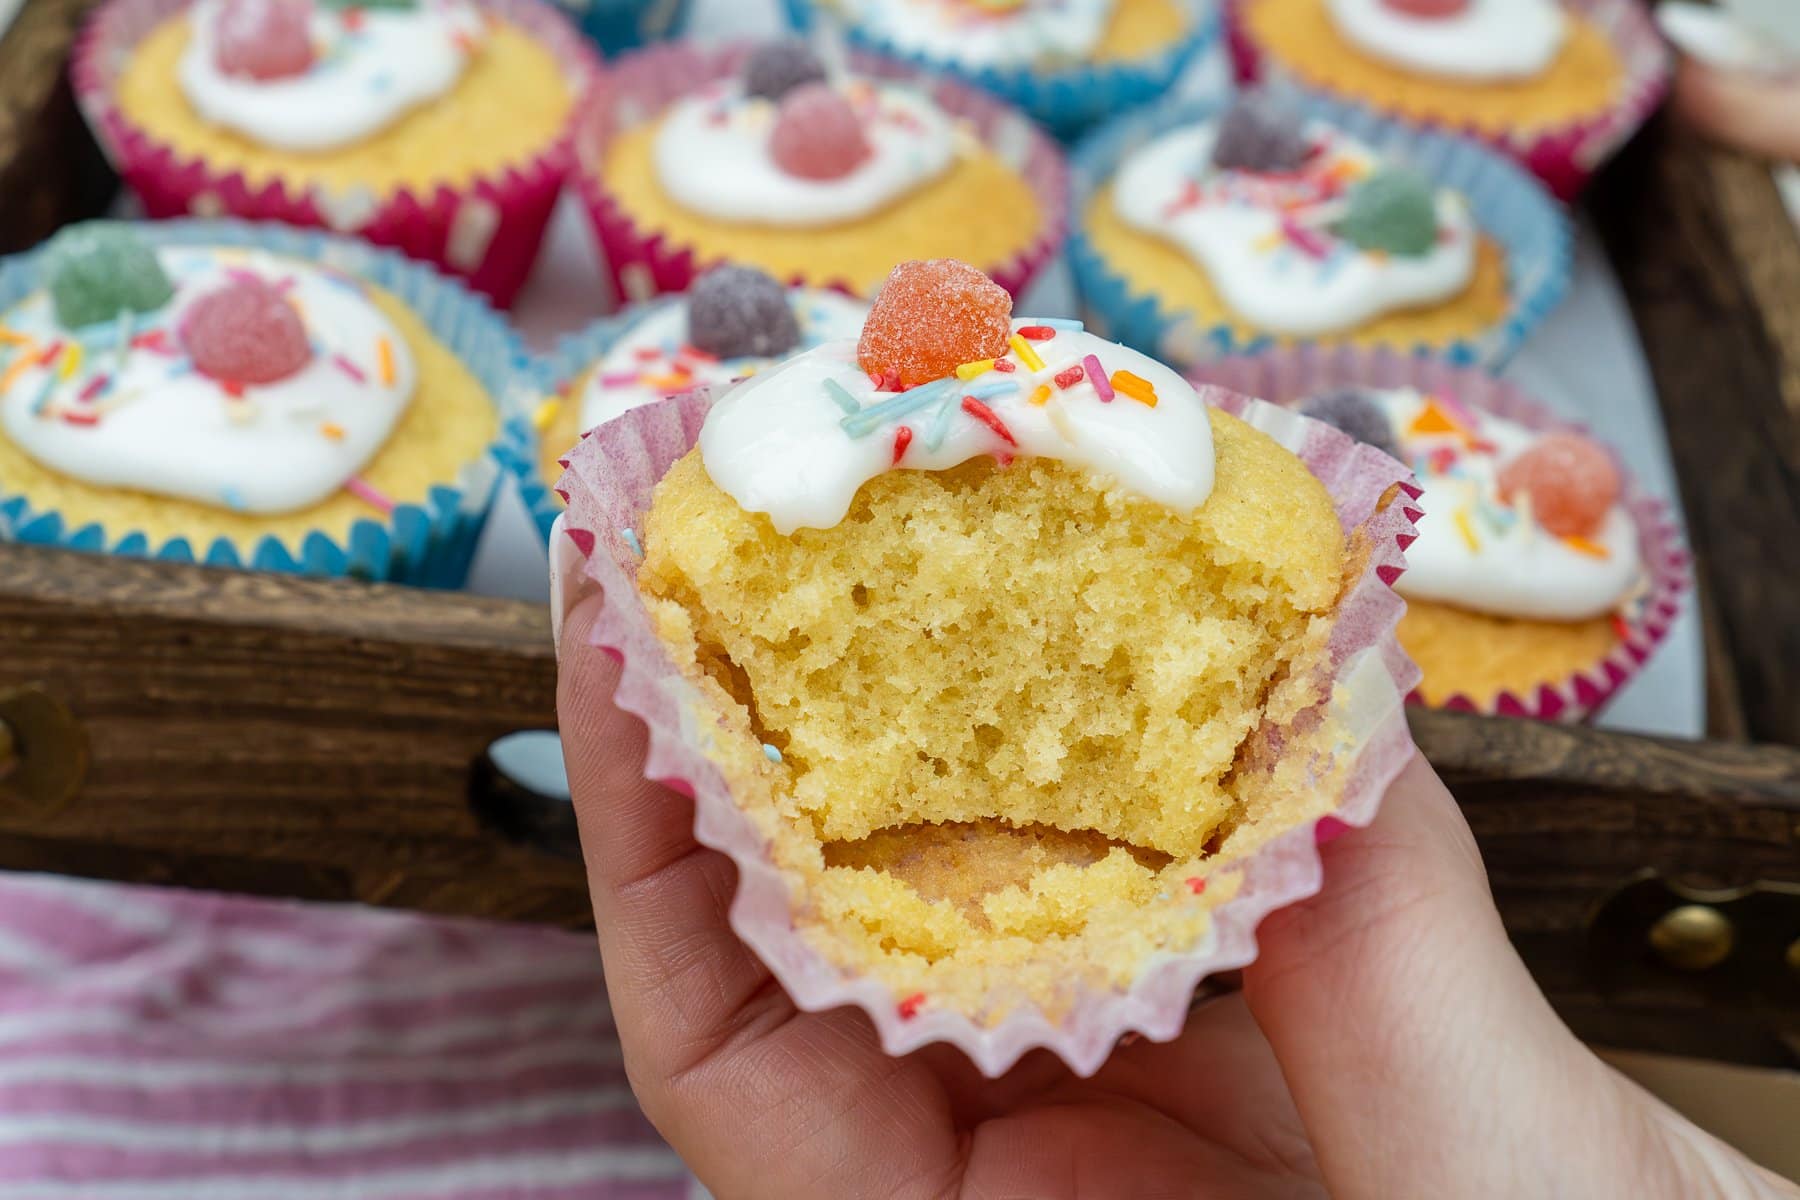
Small, light vanilla sponge cakes with a simple icing on top, they are easy, affordable, and perfect for sharing.
We always liked to tell the kids that fairy cakes were called that because of the “fairy treasure” on top. The colourful sweets, sparkly sprinkles and messy icing made each one feel like a tiny magical treat.
Sadly, no cleaning fairy appears afterwards to tidy the kitchen… just flour, crumbs, icing splats, and washing up.
More Small Cake Recipes
If you loved these fairy cakes, you might also enjoy:


Tia says
Delicious and so easy! Thank you. Was looking for the perfect old school, back-to-basics fairy cake recipe and this is it!
One note: I think it’s accidental that the recipe card refers to “chocolate” frosting?
Luke and Kay says
That’s such a lovely comment, thank you so much Tia! We’re really glad you enjoyed the fairy cakes and that they hit that classic, back-to-basics feel 😊
And good spot on the “chocolate” frosting mention, that’s definitely a little slip on our part! We’ll get that updated so it matches the recipe properly.
Thanks again for taking the time to leave a comment, it really means a lot to us!
Michael says
Lovely recipe for fairy cakes. Simple to follow and they turned out light, fluffy and full of flavour. The cakes rose nicely and had that perfect classic fairy cake texture. I’ll definitely be making these again!
Luke and Kay says
Thanks so much for your lovely feedback, Michael. We’re really glad you enjoyed the fairy cakes and found the recipe easy to follow. It’s great to hear they turned out light and fluffy with that classic fairy cake texture. Thanks for taking the time to leave a comment, and we hope you enjoy making them again soon!